How to Make a Worm Bin 🪱
Creating a DIY worm bin is a simple and cost-effective way to start vermicomposting at home. With just a few materials, you can create a sustainable system that transforms food waste into nutrient-rich compost for your garden.
Materials Needed 🛠️
- Plastic tote (10-50 gallons)
- Power drill with drill bits
- Peat moss, coconut coir, or shredded newspaper (bedding)
- Red wiggler worms (Eisenia fetida)
- Food scraps (vegetable peels, coffee grounds, eggshells)
- Spray bottle (for moisture control)
Step 1: Preparing the Bin 📦
To create a proper environment for your worms, you need a well-ventilated bin.
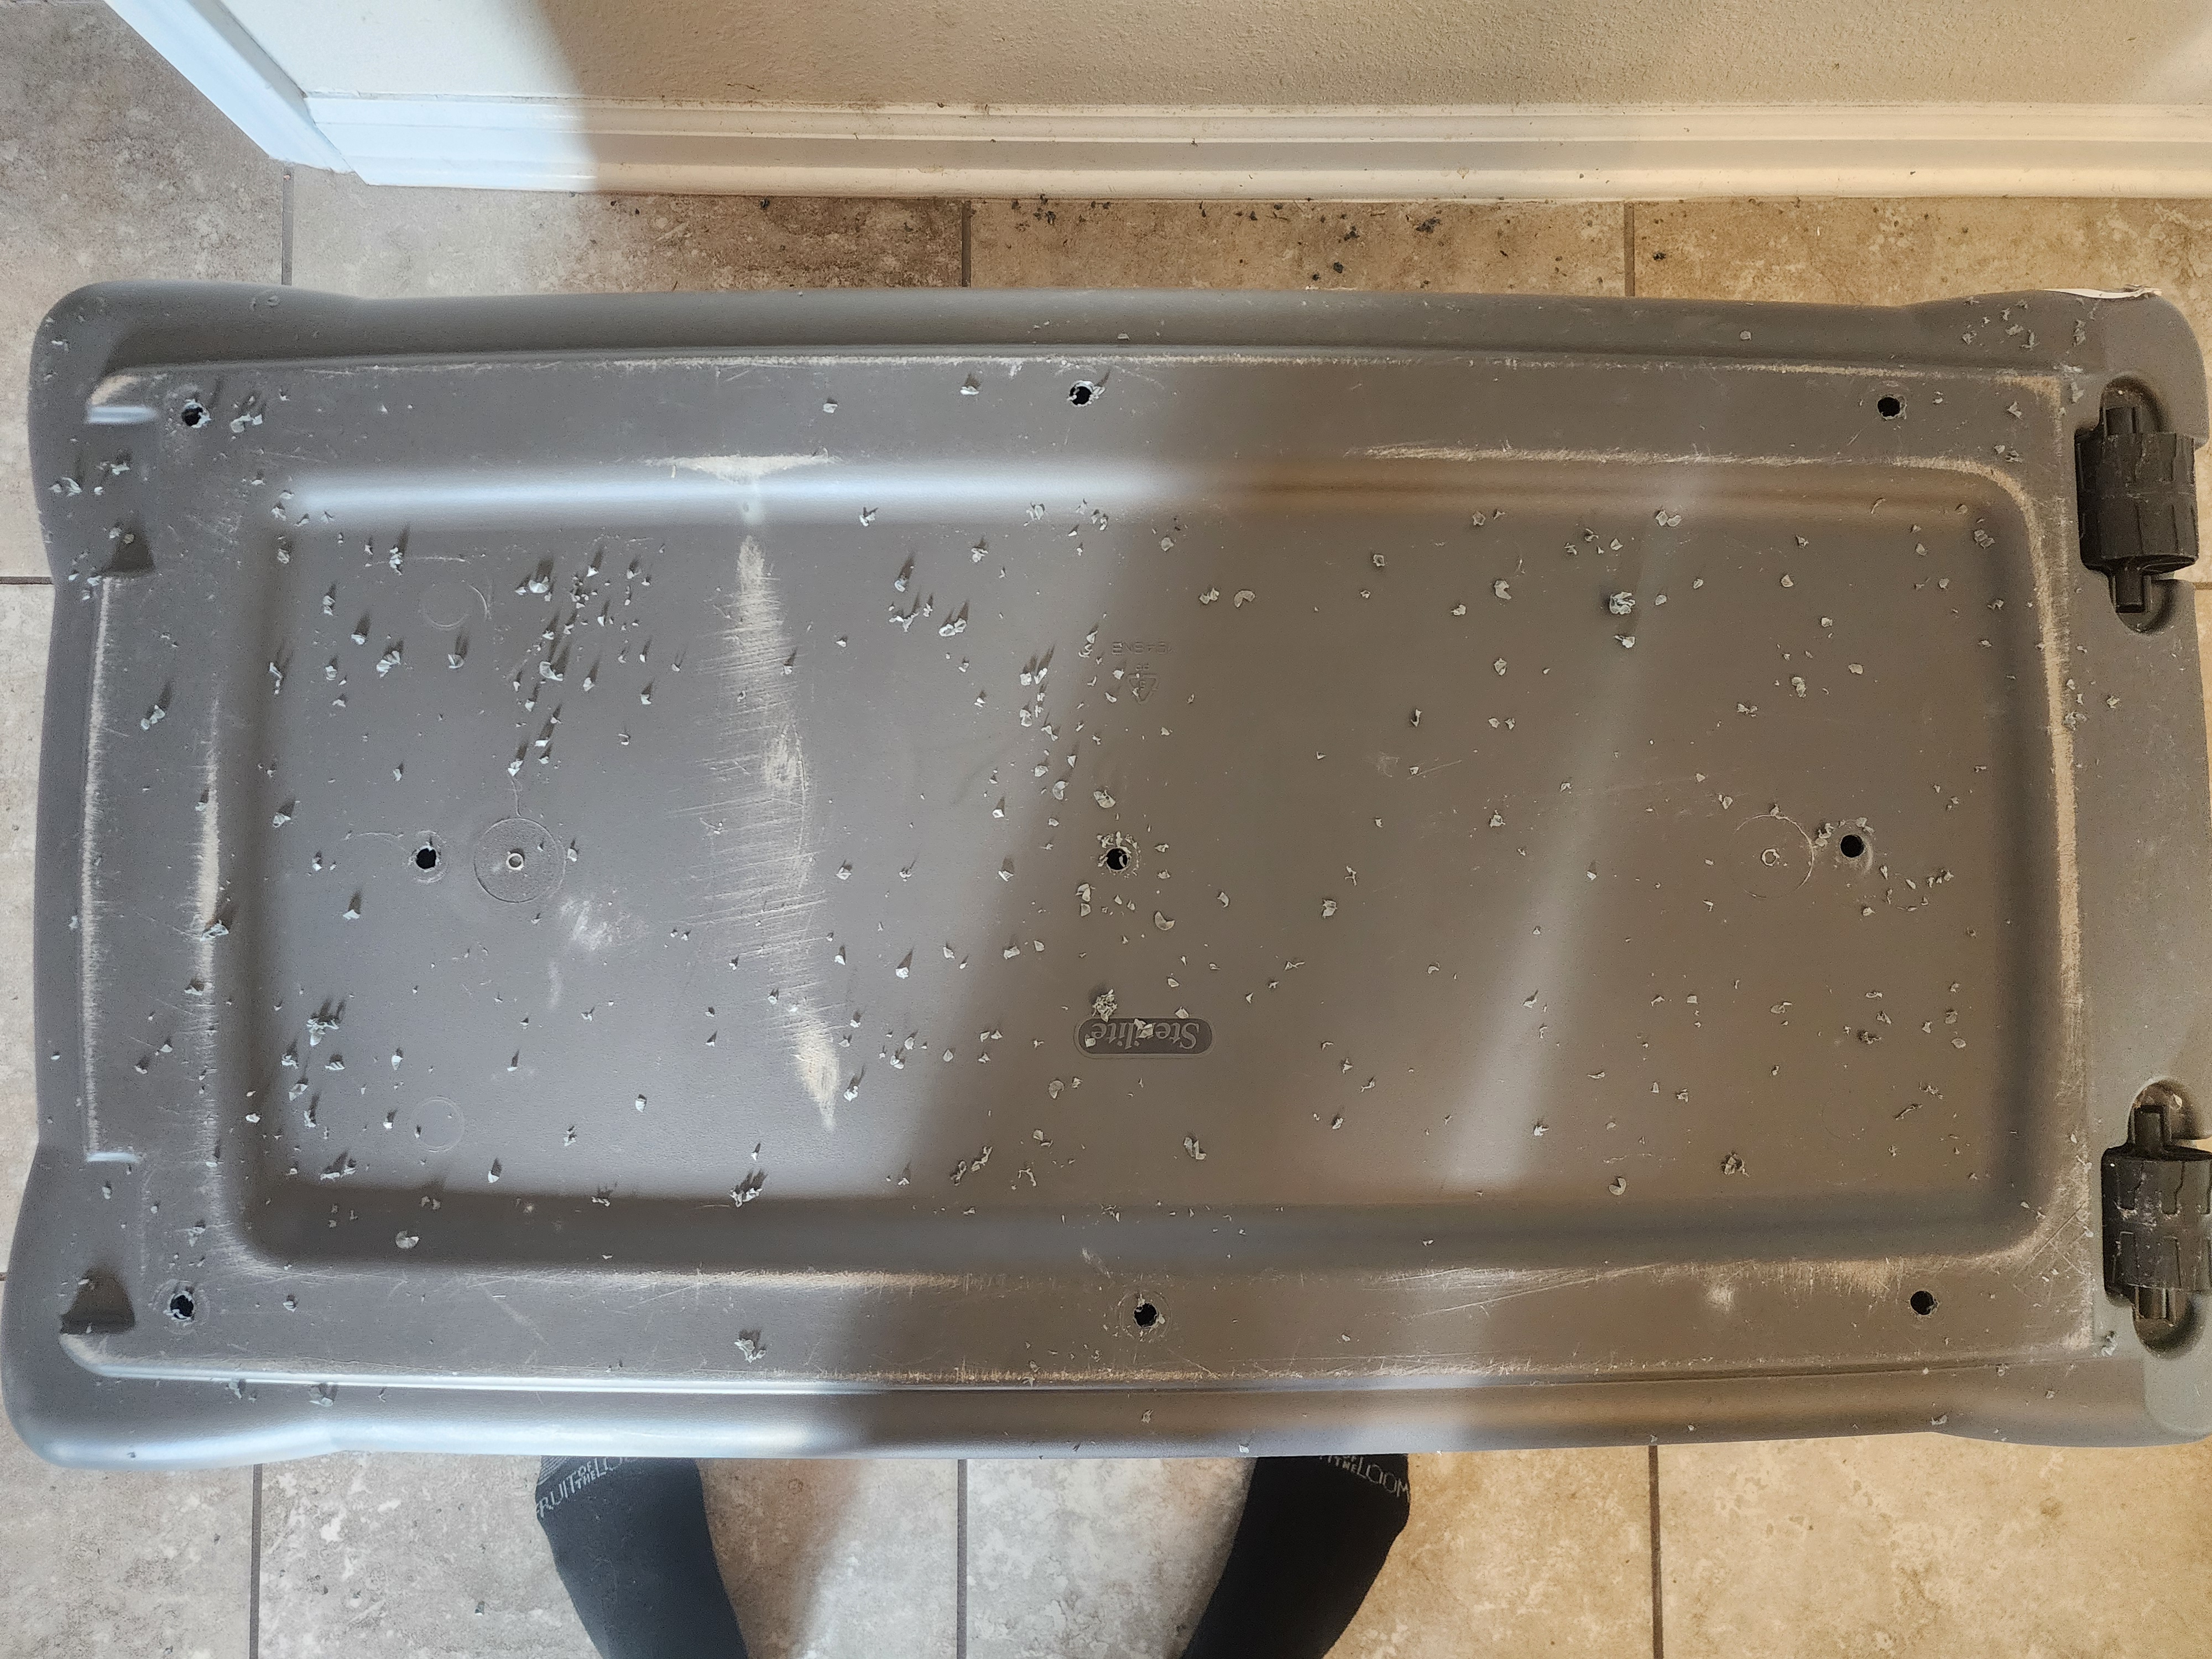
Drill Drainage Holes
Flip the bin upside down and drill small holes on the bottom for drainage. If you are wondering how many holes you are over thinking this.
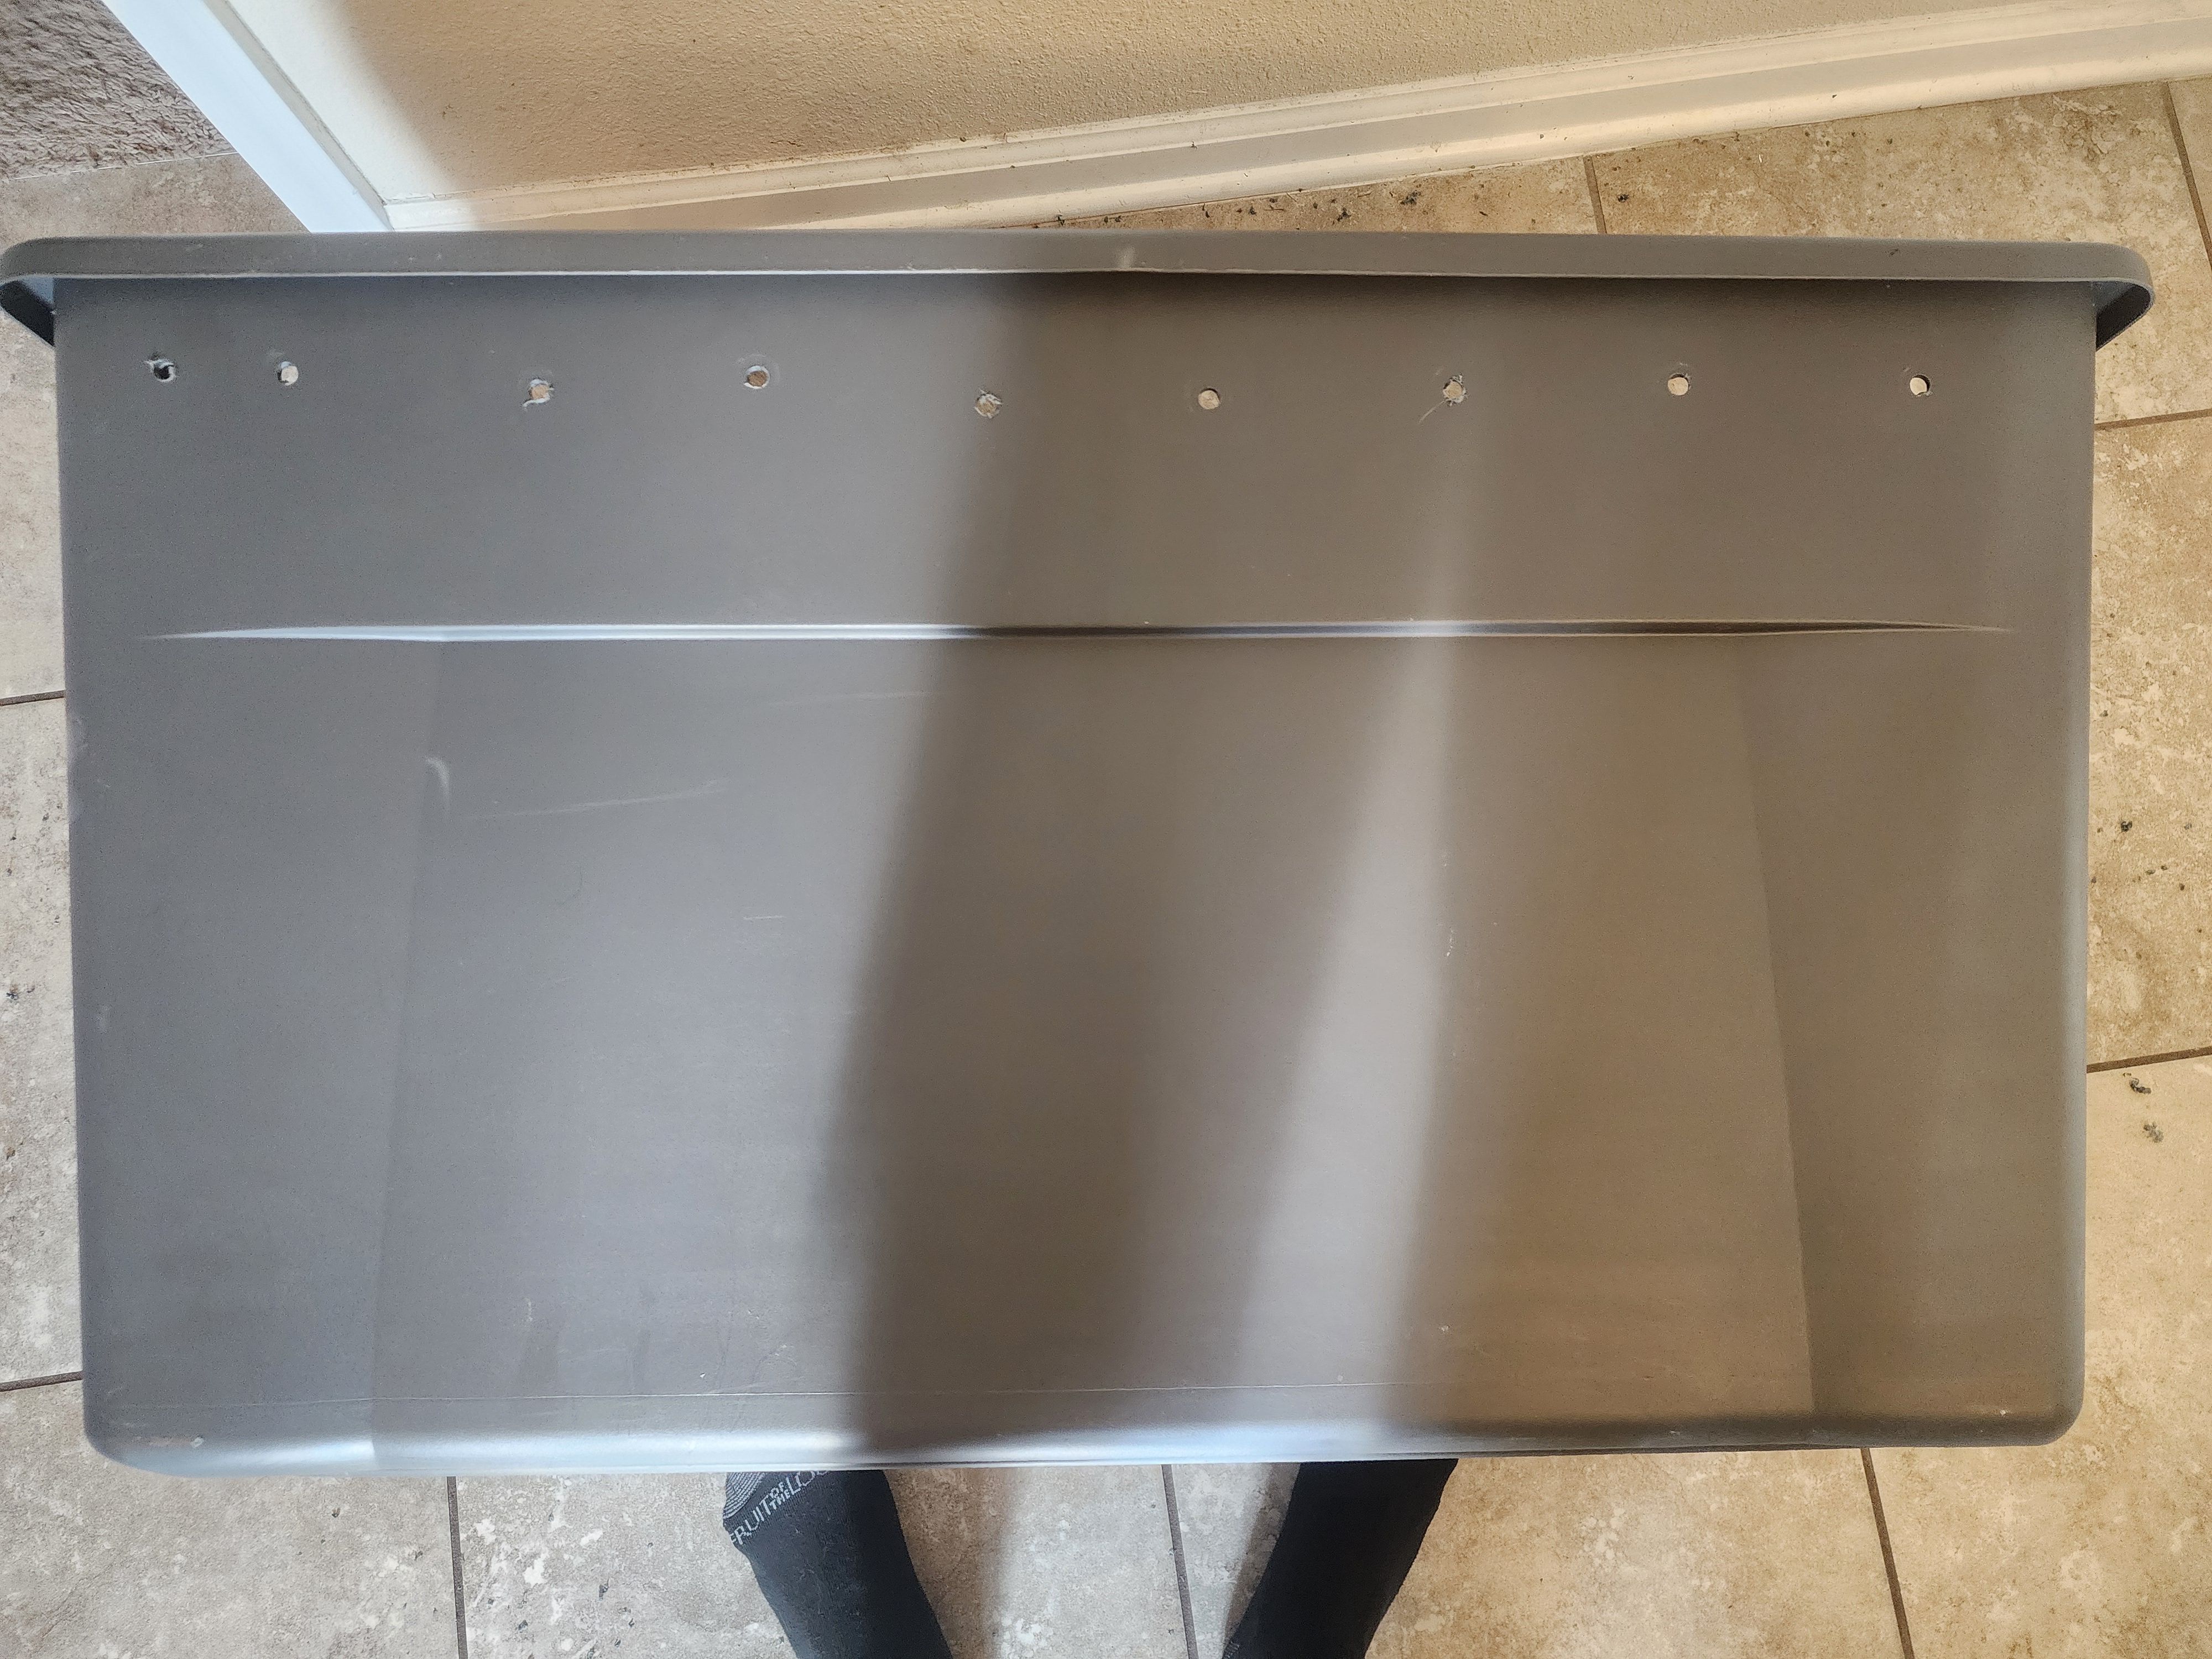
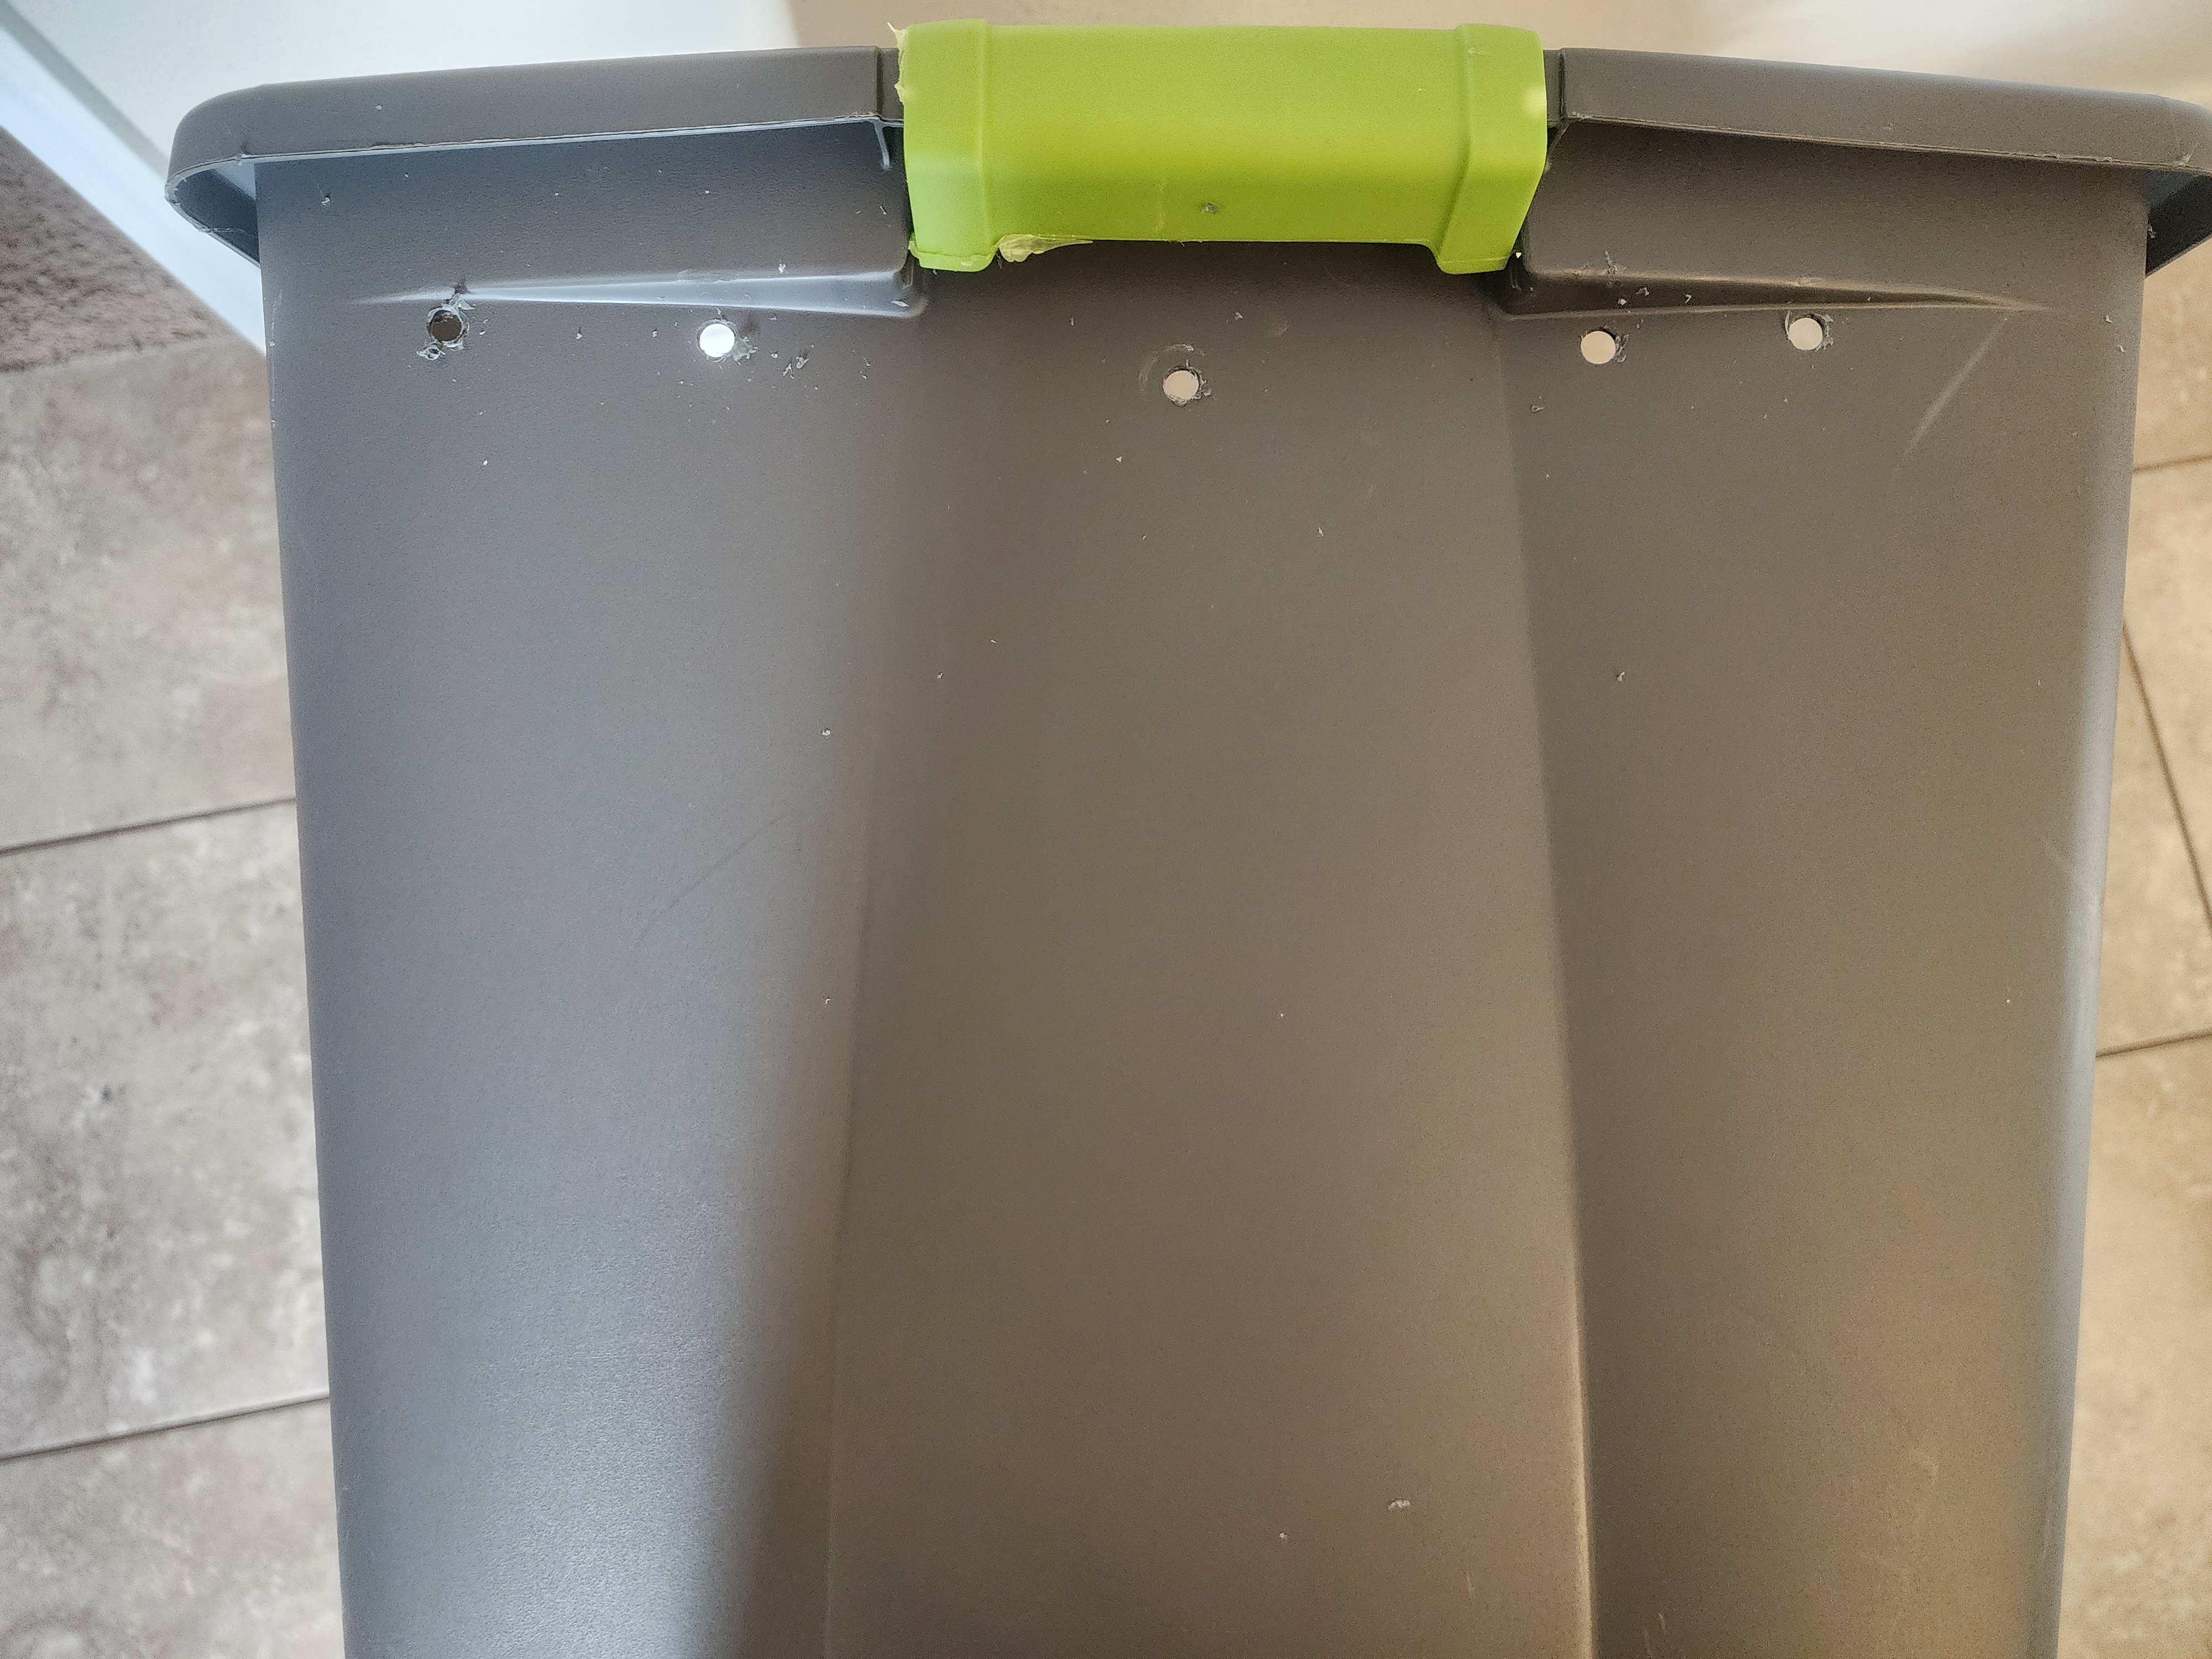
Drill Ventilation Holes
On the upper sides of the bin, drill a row of small holes apart to allow airflow. Again if you are wondering how many holes, the spacing you are overthinking it. Just drill baby drill!
Drill Lid Holes (Optional)
If keeping the lid on, drill small holes along the top edge for extra ventilation.
Step 2: Adding Bedding 🛏️
Worms need a soft, absorbent material to live in. You can use peat moss, shredded newspaper, coconut coir, or cardboard, or even a mixture of different bedding materials.
- Add a 3-4 inch layer of damp bedding to the bottom of the bin.
- Moisten it with a spray bottle. It should be damp but not dripping wet.
- Fluff it up to create space for airflow.
Step 3: Adding the Worms 🪱
- Use Red Wigglers (Eisenia fetida) as they are the best for composting.
- Start with ½ - 1 pound of worms (about 500-1000 worms).
- Gently place them on top of the bedding—they will burrow down naturally.
Step 4: Feeding Your Worms 🍎🥦
✅ Best Foods:
- Vegetable peels
- Coffee grounds & filters
- Fruit scraps (no citrus)
- Shredded cardboard & paper
- Crushed eggshells
❌ Avoid:
- Meat, dairy, and oily foods
- Citrus fruits (too acidic)
- Onion & garlic (worms dislike them)
Step 5: Maintaining the Bin 🔄
- Check moisture weekly (it should feel like a wrung-out sponge).
- Turn bedding lightly to prevent anaerobic conditions.
- Harvest compost every 2-3 months by moving finished compost to one side and adding fresh bedding/food on the other.
Step 6: Harvesting the Vermicompost 🌱
- Move fresh food to one side of the bin.
- Wait a few days—worms will migrate to the fresh food.
- Scoop out the finished compost and use it in your garden or houseplants!
Troubleshooting Tips 🛠️
- Bad smell? Too much food or too wet. Add dry bedding and reduce feeding.
- Worms escaping? Bin may be too wet or acidic. Adjust moisture and avoid citrus.
- Fruit flies? Always bury food scraps under bedding.
Final Thoughts 💚
Vermicomposting is an easy, sustainable way to recycle food scraps and enrich soil naturally. With the right setup and a little maintenance, you’ll have healthy worms and nutrient-rich compost in no time!